SUCTION AND FLUID MANAGEMENT SYSTEMS INSTALLATION
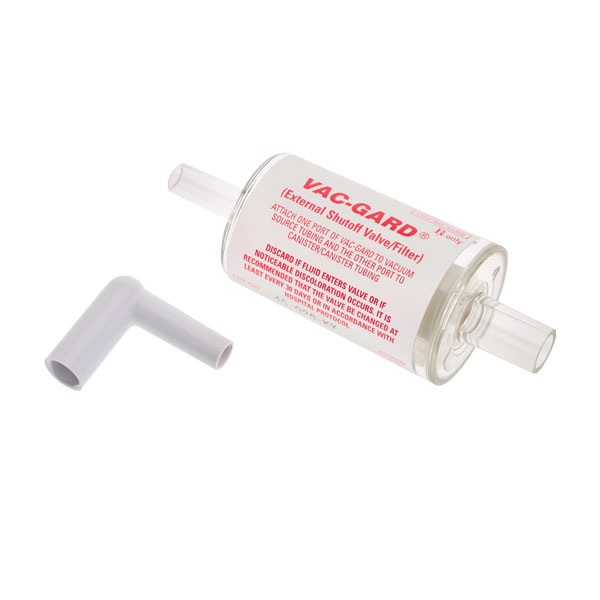
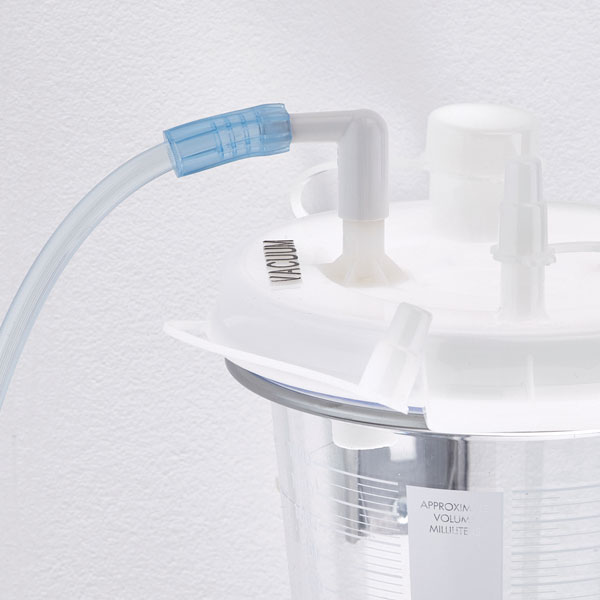
External VAC-GARD Shut-Off Valve
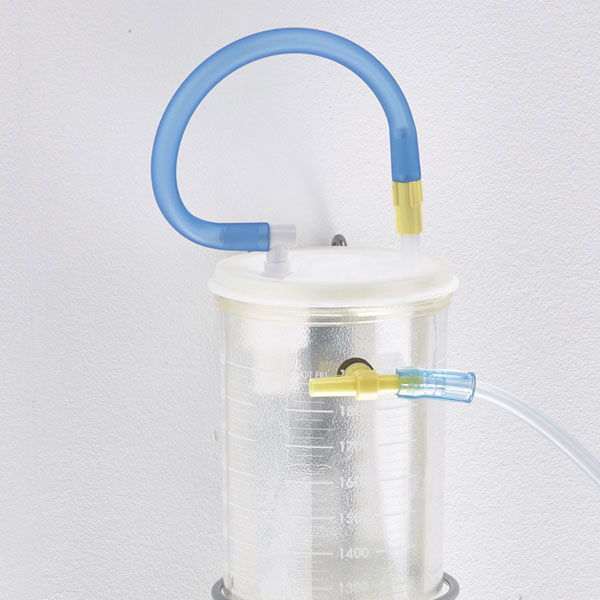
External VAC-GARD
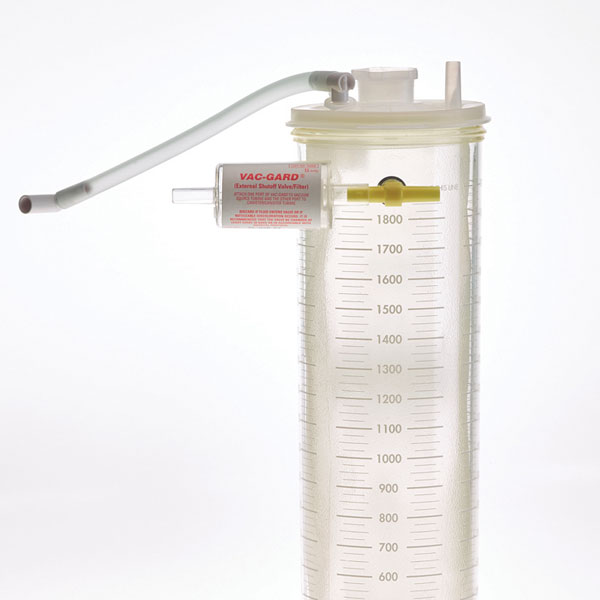
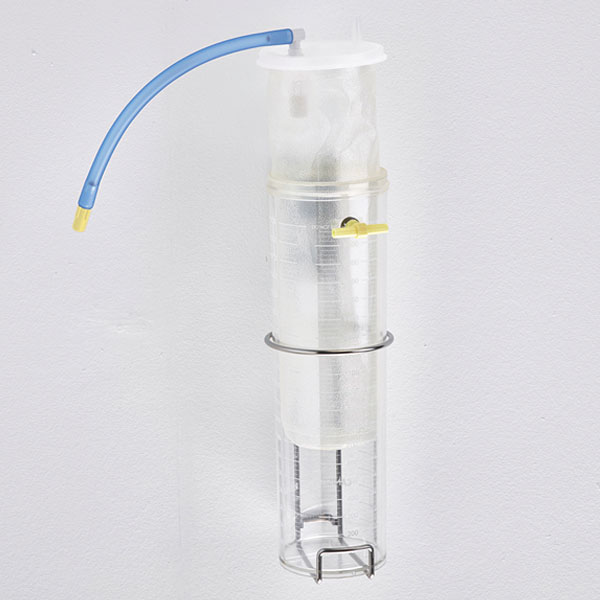
1. Select RECEPTAL® canister size and same size liner without integrated VAC-GARD® blue tubing insert external VAC-GARD® onto canister “T”.
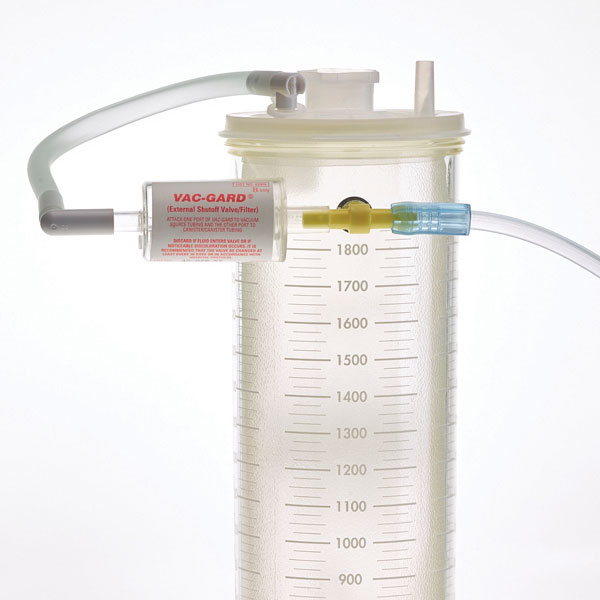
2. Attach lid tubing to external VAC-GARD®. Connect vacuum tubing to canister “T”.
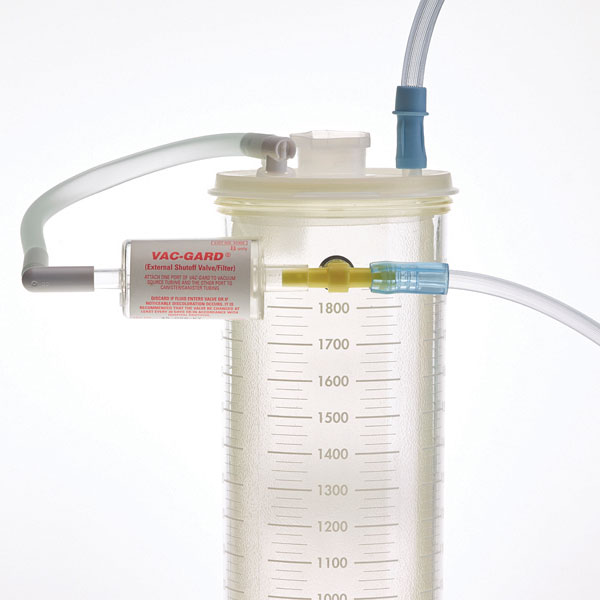
3. Connect patient tubing to patient port. Cap all ports not in use.
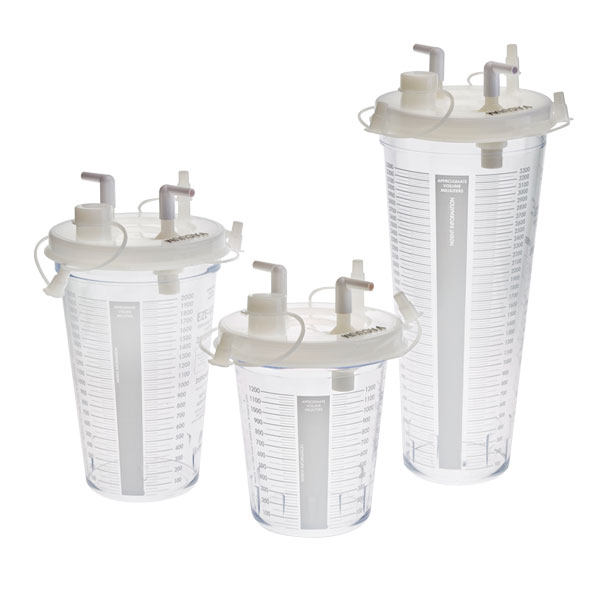
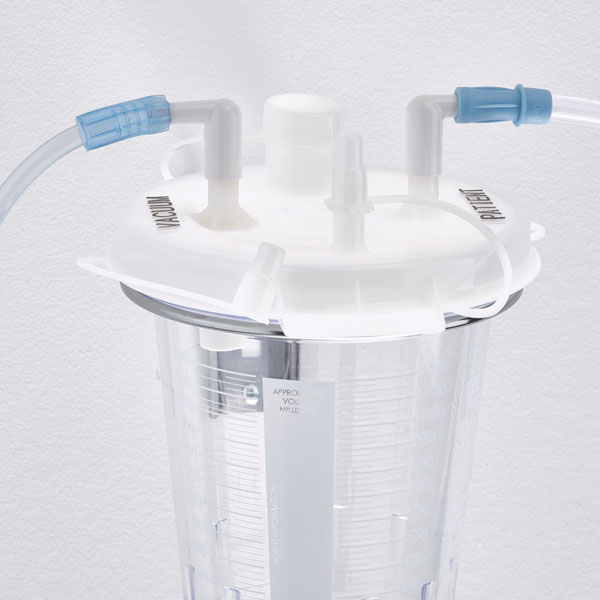
EZE-VAC Suction Canister System
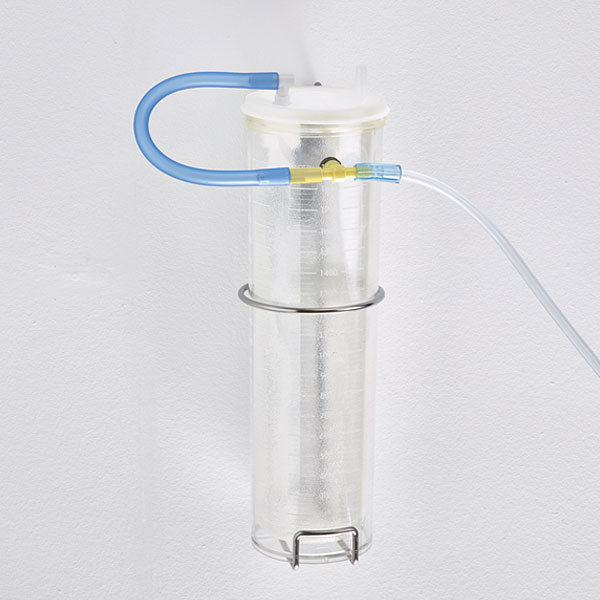
Single Canister
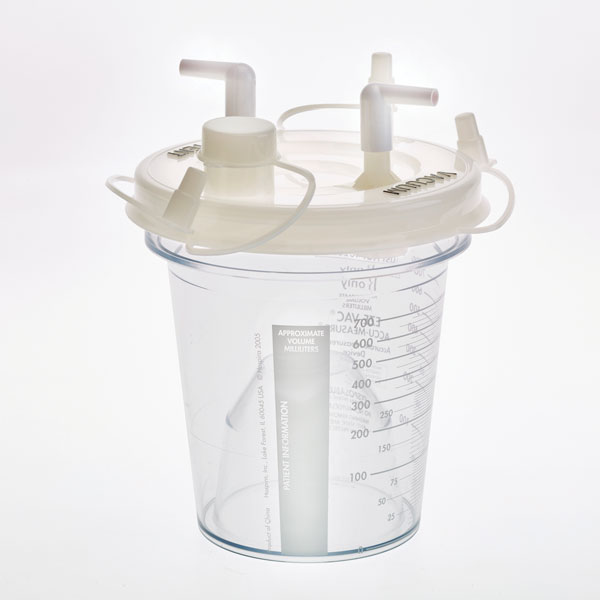
1. Select canister size and secure lid to canister.
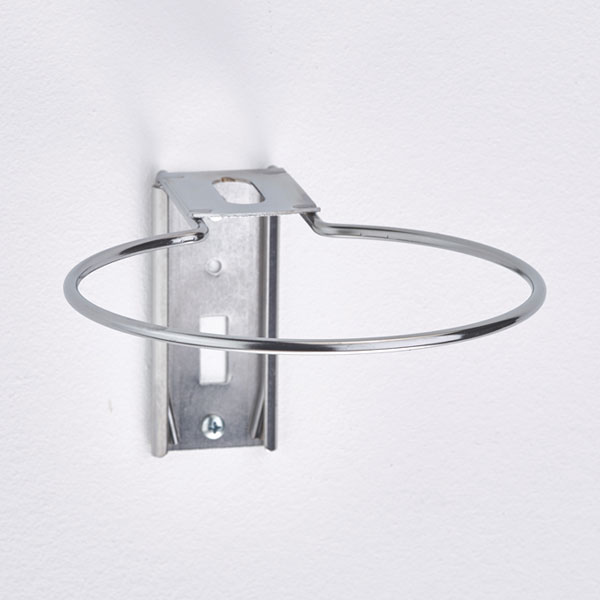
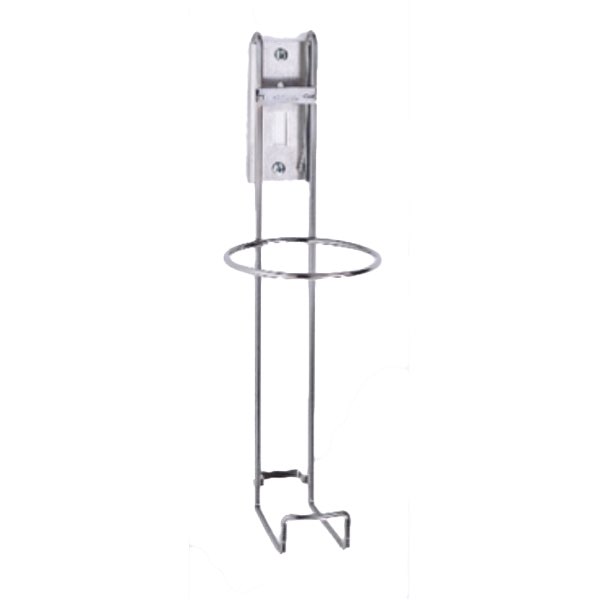
2. Select support.
3. Place canister in support, connect vacuum tubing to vacuum port elbow on lid.
4. Connect patient tubing to patient port elbow on lid. Cap all ports not in use.
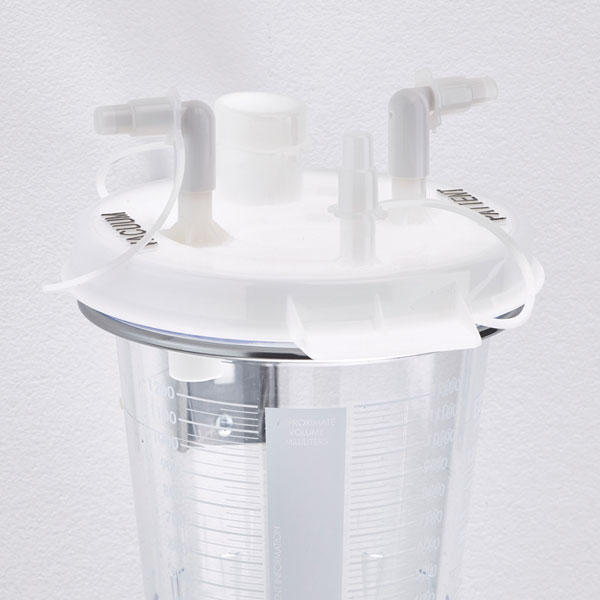
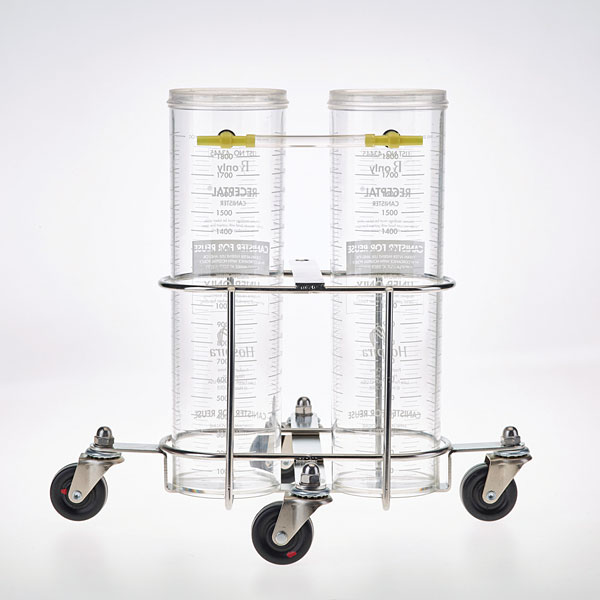
Multiple Canister
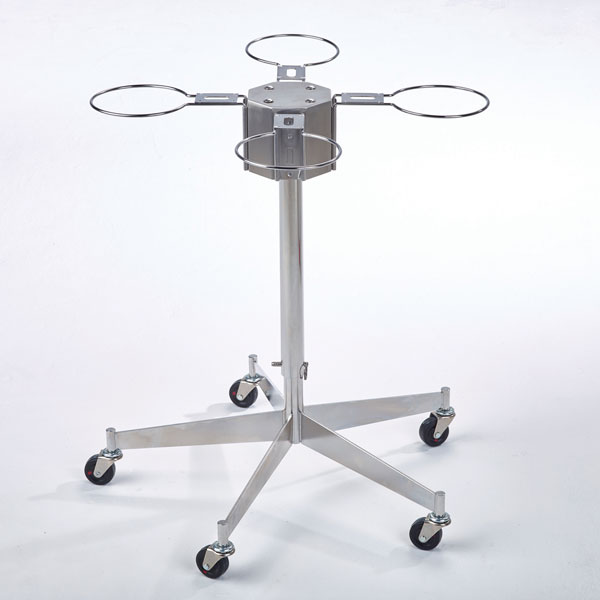
1. Attach supports to floor stand. Select canister size and secure lids to canisters.
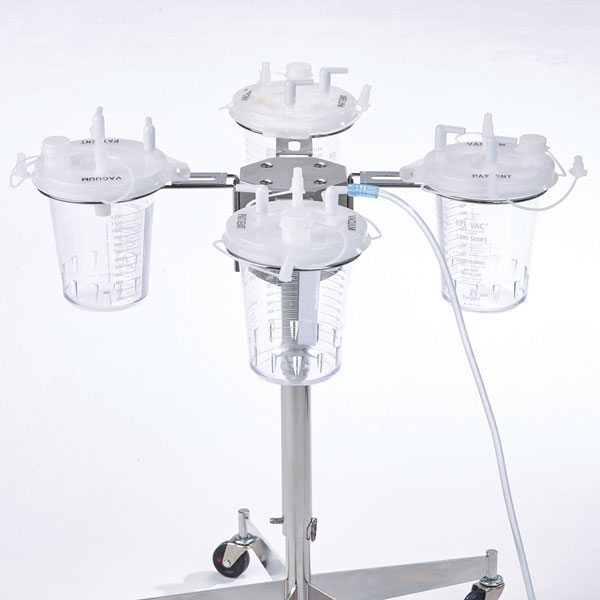
2. Place canisters into supports. Connect vacuum tubing to vacuum port elbow on lid. Secure vacuum port caps on remaining canisters.
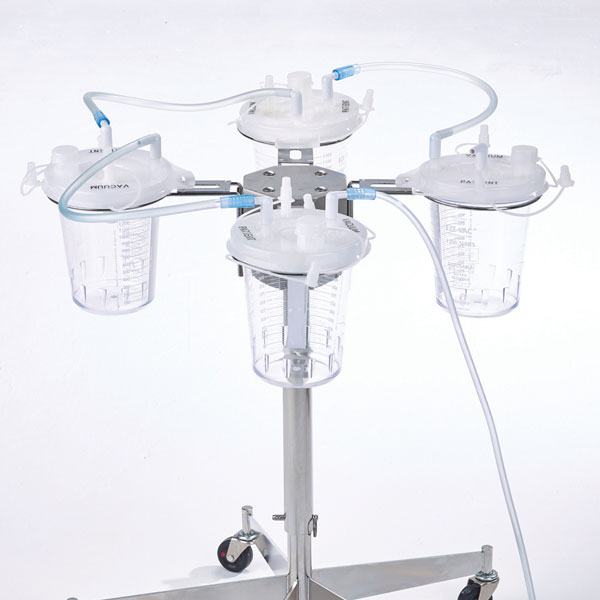
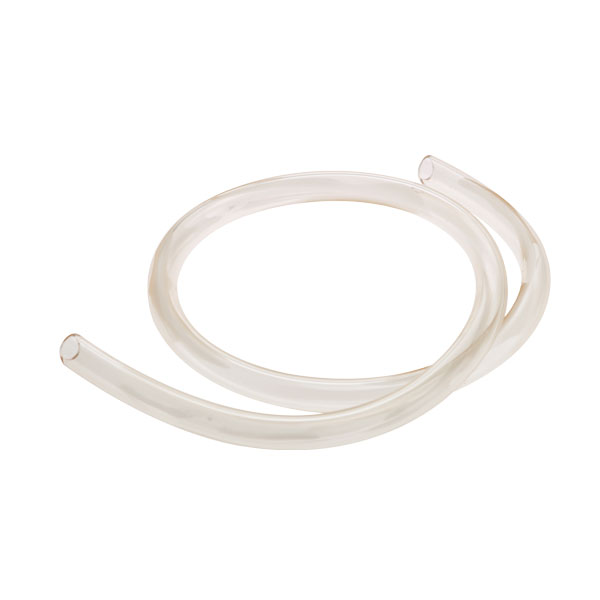
3. Connect ortho port to adjacent patient port with tandem tubing (Item 43317-25). Repeat until all canisters are connected.
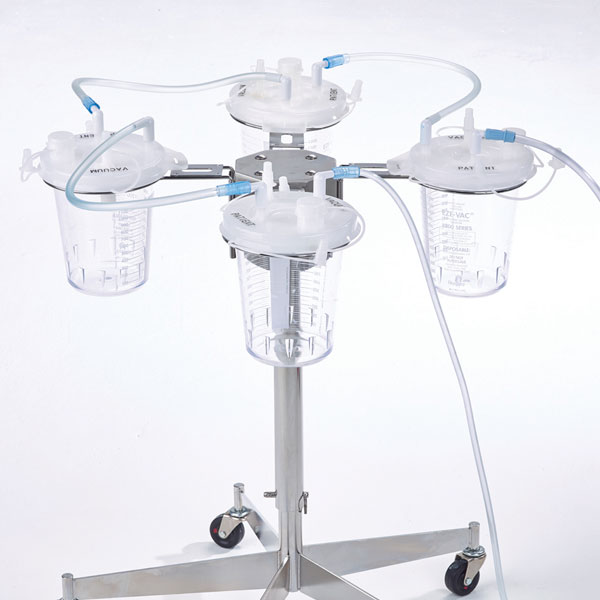
4. Connect patient tubing to patient port elbow on lid.
Canister Disconnect and Disposal
1. Remove patient and vacuum tubing.
2. Cap all ports with tethered caps provided.
Additional Comments
- The canister and lid are disposable and intended for single use.
- Amsino recommends exercising universal precautions during handling and disposal.
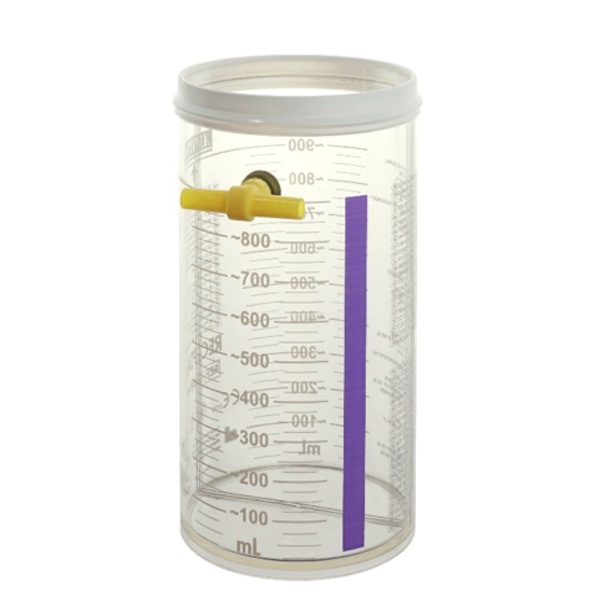
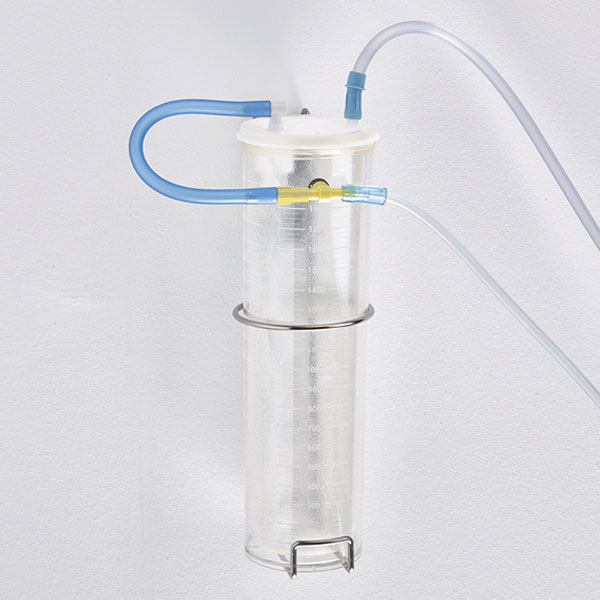
RECEPTAL ACCU-MEASURE Canister
RECEPTAL ACCU-MEASURE
1. Select RECEPTAL® canister size and attach ACCU-MEASURE® bracket.
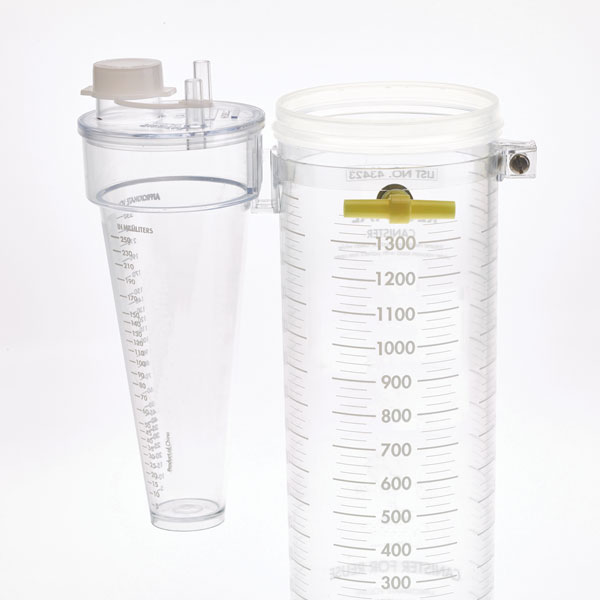
2. Slide 250 mL ACCU-MEASURE® device onto bracket.
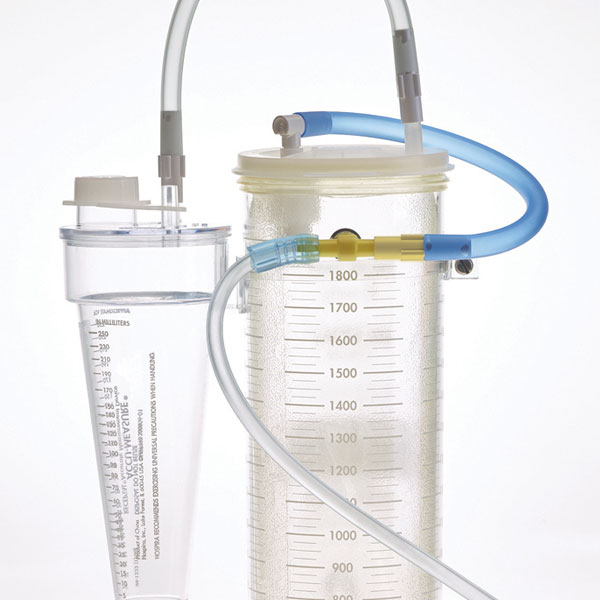
3. Follow RECEPTAL® single liner set-up. Use tandem tubing to connect vacuum port of ACCU-MEASURE® to patient port of liner lid.
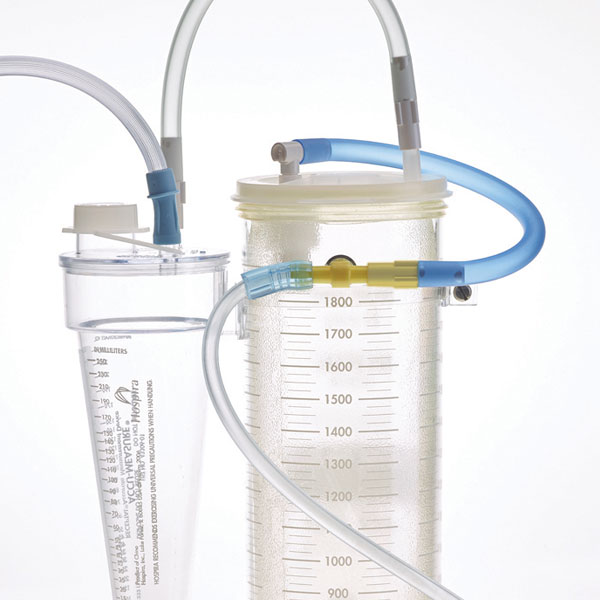
4. Connect patient tubing to ACCU-MEASURE® patient port. Cap all ports not in use.
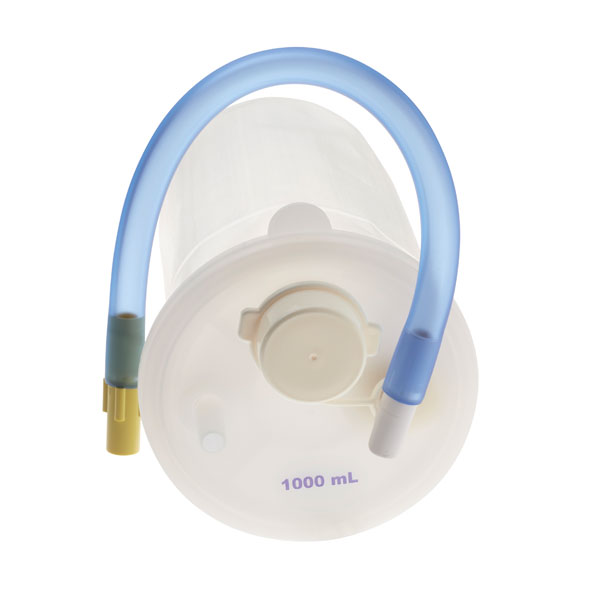
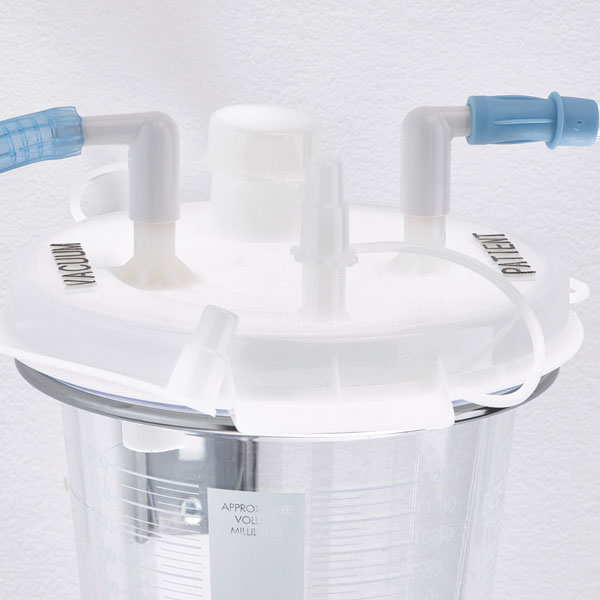
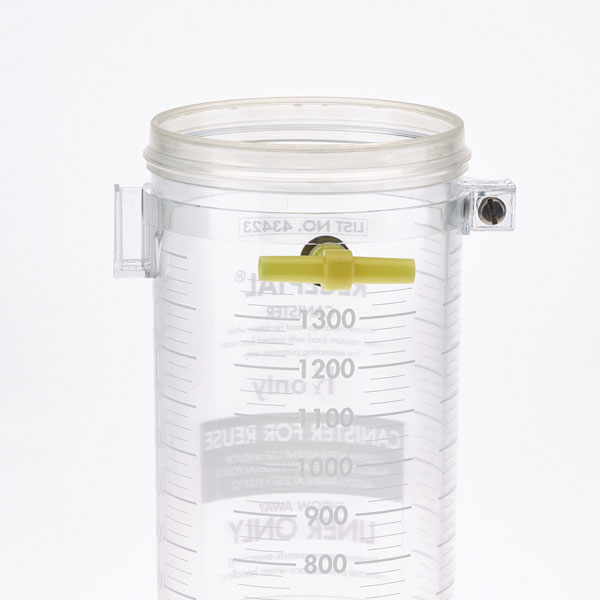
RECEPTAL Canisters
For RECEPTAL Single, Tandem, Multiple Canister and Liner Set Up.
Single Canister and Liner
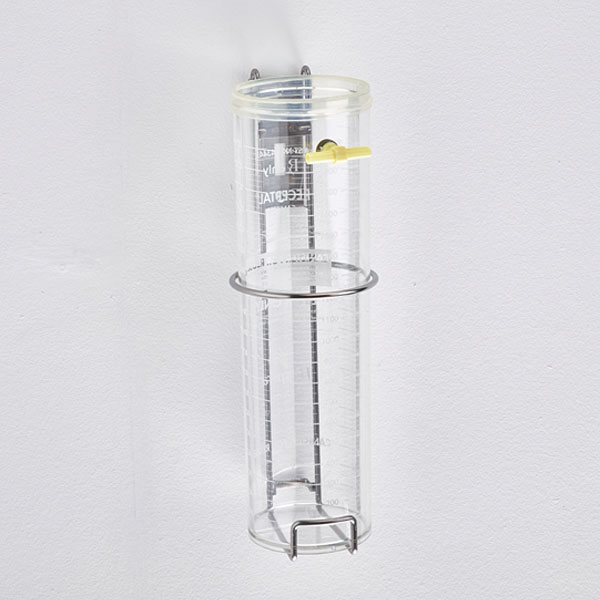
1. Place canister into support.
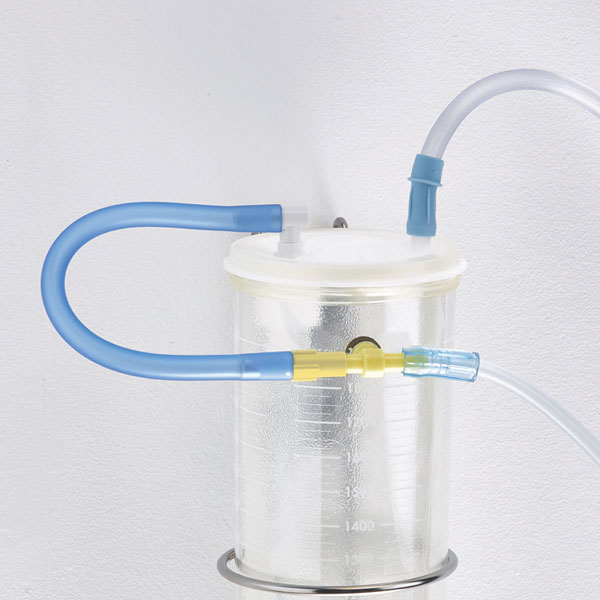
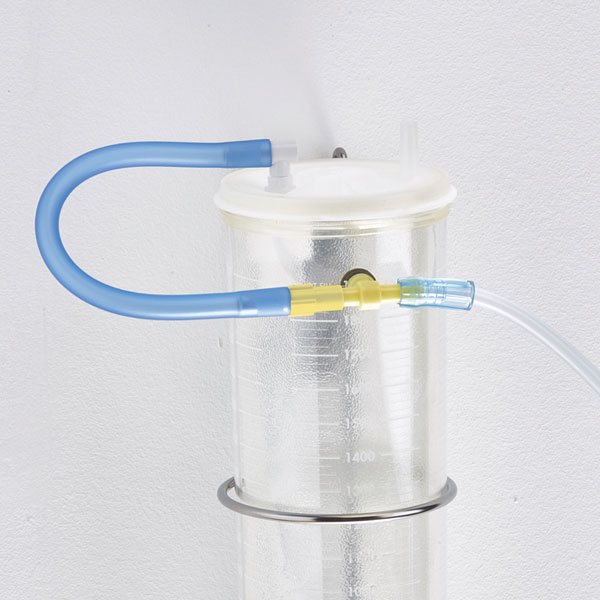
2. Insert same size liner with VAC-GARD® and secure liner lid to canister.
3. Connect lid VAC-GARD® blue tubing and vacuum tubing to canister “T”.
4. Connect patient tubing to patient port. Cap all ports not in use.
Tandem Canister and Liner
1. Select canister size and support. Place canisters into support.
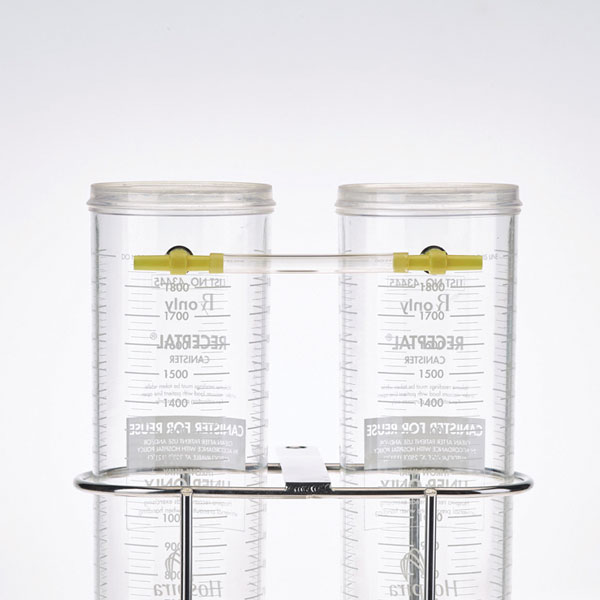
2. Connect canister “T”s with vacuum tubing.
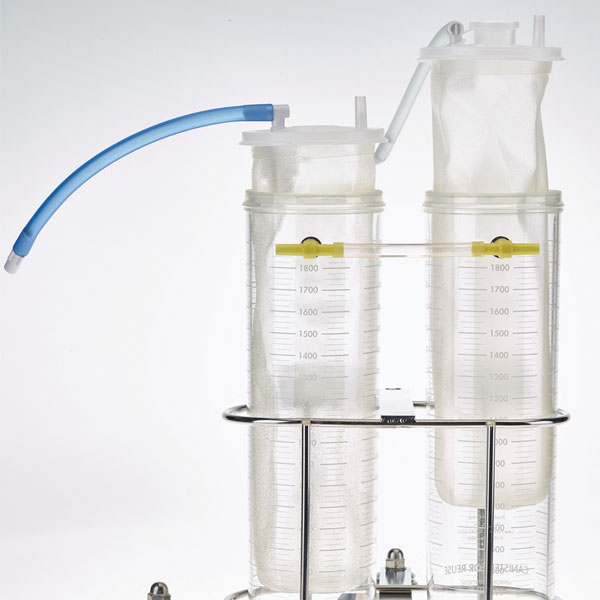
3. Insert same size liners (1 with and 1 without VAC-GARD®), secure liner lids to canisters.
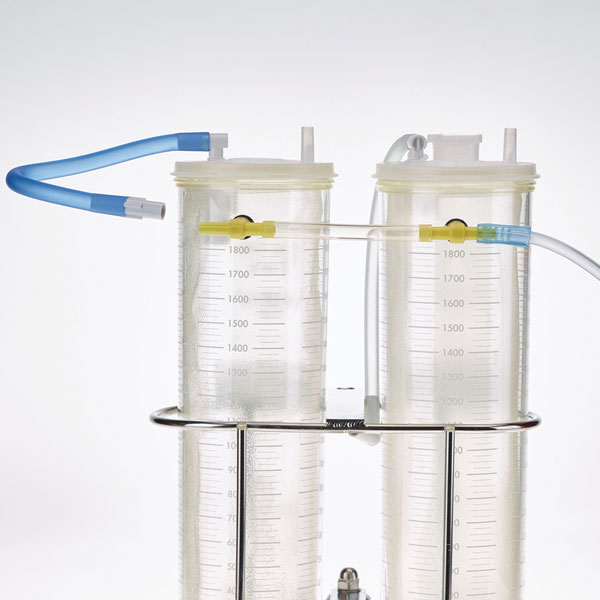
4. Connect lid VAC-GARD® blue tubing and vacuum tubing to canister “T”.
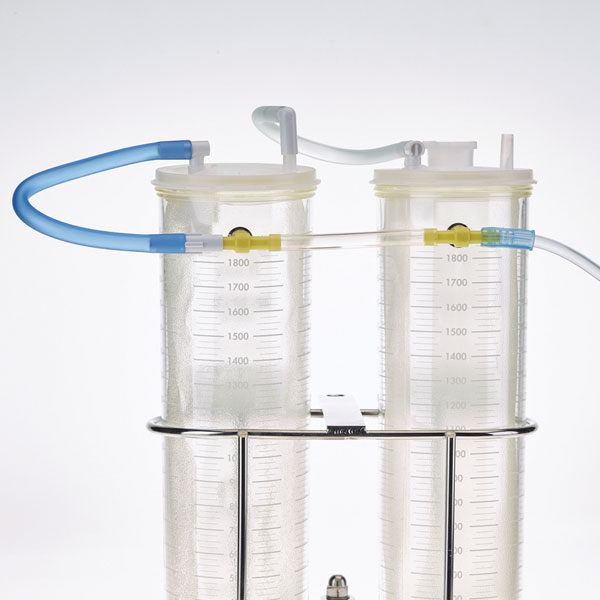
5. Connect lid tandem tubing (clear) to patient port of the lid with blue tubing.
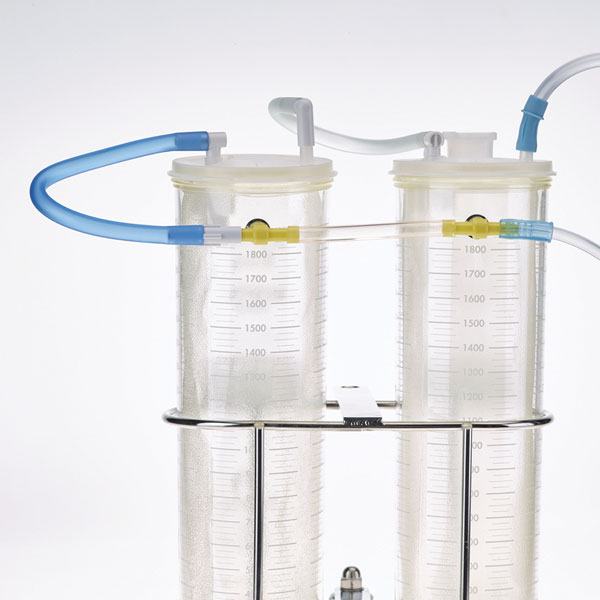
6. Connect patient tubing to patient port. Cap all ports not in use.
Multiple Canister and Liner
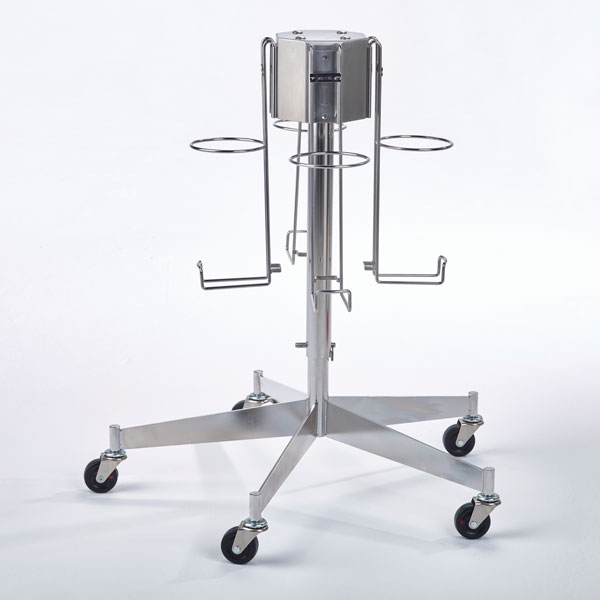
1. Select canister size and supports. Attach supports to floor stand.

2. Insert canisters into supports.

3. Insert same size liners (1 with VAC-GARD® and remaining liners without), secure liner lids to canisters.
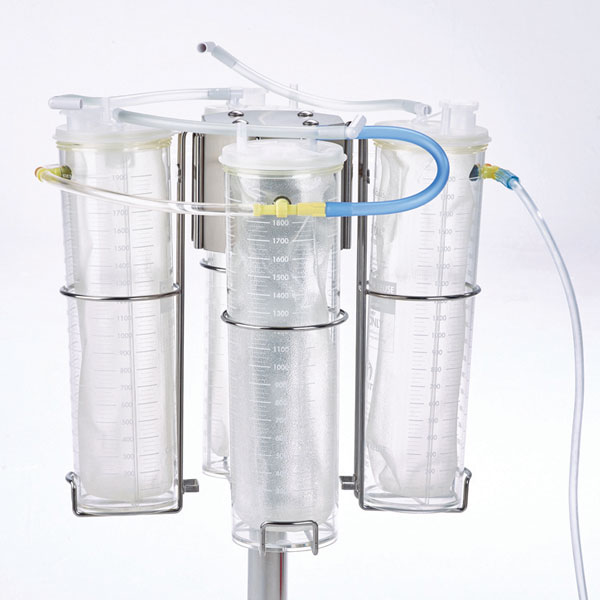
4. Interconnect canister “T”s with vacuum tubing. Attach the lid VAC-GARD® blue tubing and vacuum tubing to the remaining open “T” ports.
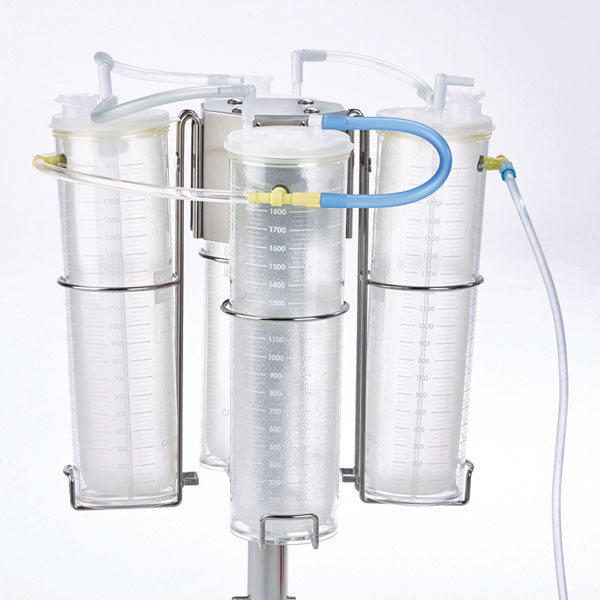
5. Connect lid tandem tubing (clear) to patient port of the lid with blue tubing. Repeat process until all liners are connected.
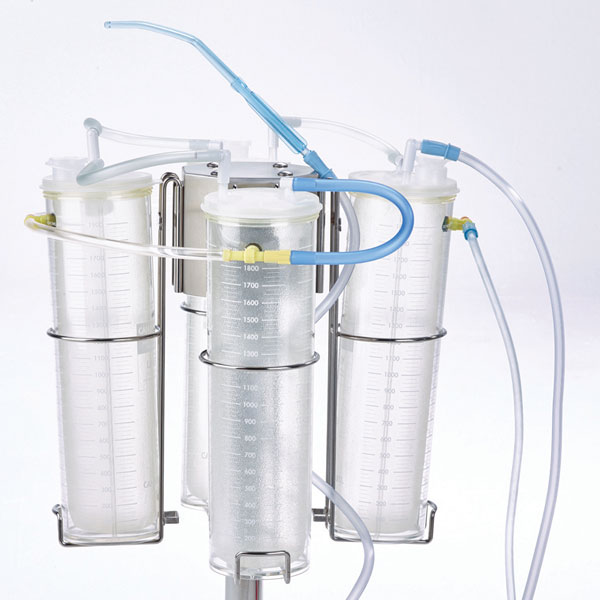
6. Connect patient tubing to patient port. Cap all ports not in use.
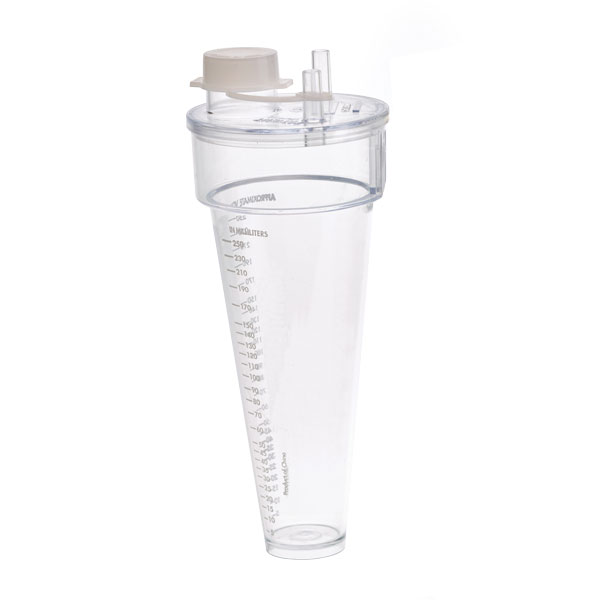
RECEPTAL Liners
Single Canister and Liner
1. Place canister into support.
2. Insert same size liner with VAC-GARD® and secure liner lid to canister.
3. Connect lid VAC-GARD® blue tubing and vacuum tubing to canister “T”.
4. Connect patient tubing to patient port. Cap all ports not in use.
Tandem Canister and Liner
1. Select canister size and support. Place canisters into support.
2. Connect canister “T”s with vacuum tubing.
3. Insert same size liners (1 with and 1 without VAC-GARD®), secure liner lids to canisters.
4. Connect lid VAC-GARD® blue tubing and vacuum tubing to canister “T”.
5. Connect lid tandem tubing (clear) to patient port of the lid with blue tubing.
6. Connect patient tubing to patient port. Cap all ports not in use.
Multiple Canister and Liner
1. Select canister size and supports. Attach supports to floor stand.
2. Insert canisters into supports.
3. Insert same size liners (1 with VAC-GARD® and remaining liners without), secure liner lids to canisters.
4. Interconnect canister “T”s with vacuum tubing. Attach the lid VAC-GARD® blue tubing and vacuum tubing to the remaining open “T” ports.
5. Connect lid tandem tubing (clear) to patient port of the lid with blue tubing. Repeat process until all liners are connected.
6. Connect patient tubing to patient port. Cap all ports not in use.
Liner Disconnect and Disposal
1. Leave vacuum switched on at the end of the procedure.
2. Remove patient suction tubing from patient port and discard.
3. Disconnect liner lid tubing from canister “T” and immediately reconnect to patient port with push and twist motion (friction lock).
Additional Comments
- Cap any port not in use.
- Do not use lid tubing as a handle to lift liner.
- Amsino recommends exercising universal precautions during handling and disposal.